INSTRUCTIONS:
- Prepare the Solution: Start by filling a bucket with warm water. For every gallon of water, add approximately half a cup to a cup of white vinegar. The exact ratio can vary depending on the level of cleaning needed and personal preference. If desired, you can also add a few drops of essential oils, such as lemon or lavender, to impart a pleasant scent to the cleaning solution.
- Mix Thoroughly: Use a stirring implement, such as a wooden spoon or mop handle, to mix the white vinegar and water thoroughly. Ensure that the vinegar is evenly distributed throughout the solution for maximum cleaning effectiveness.
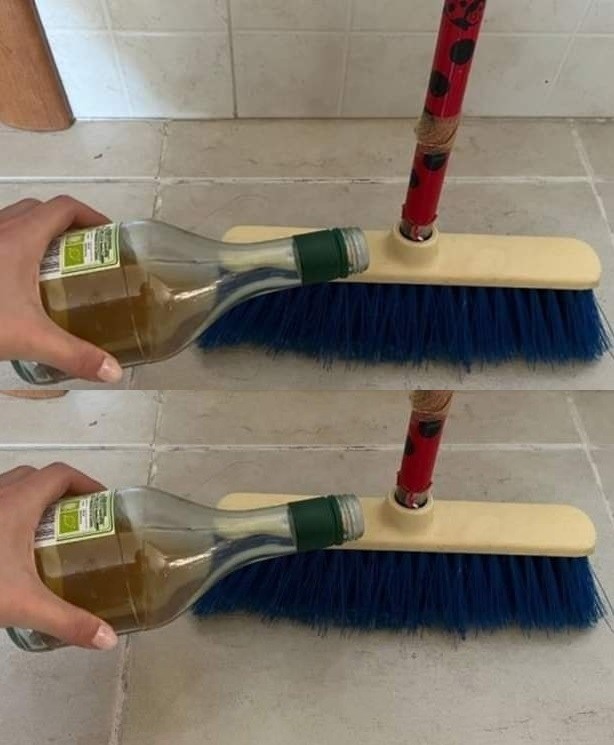
- Prepare the Broom or Mop: If using a broom, dip the bristles into the bucket of vinegar and water solution, allowing them to soak for a few seconds. If using a mop, submerge the mop head into the solution, making sure it is fully saturated.
- Wring Out Excess Liquid: After soaking, remove the broom or mop from the bucket and wring out any excess liquid. The bristles or mop head should be damp but not dripping wet.
- Begin Mopping: Starting from one corner of the room, begin mopping the floor in smooth, even strokes, working your way towards the opposite corner. If using a broom, use sweeping motions to push the solution across the floor. If using a mop, use back-and-forth or circular motions, depending on the type of mop head.
- Pay Attention to Stubborn Stains: For stubborn stains or heavily soiled areas, concentrate on applying extra pressure and scrubbing with the broom or mop. The acidity of the vinegar will help to break down dirt and grime, making it easier to remove.
- Rinse and Repeat (If Necessary): If the floor is particularly dirty or if you’re cleaning a large area, you may need to empty and refill the bucket with fresh vinegar and water solution halfway through the cleaning process. This ensures that you’re always using a clean, effective solution to mop the floors.
- Allow to Air Dry: Once you’ve finished mopping the floors, allow them to air dry naturally. Avoid walking on the wet floors until they are completely dry to prevent slips and falls.
- Optional: Spot Treat Stains: If you encounter any remaining stains or spots after mopping, you can spot treat them by applying undiluted white vinegar directly to the affected area. Allow the vinegar to sit for a few minutes, then wipe clean with a damp cloth or sponge.
- Enjoy Clean, Fresh Floors: Admire your handiwork as you bask in the glow of your freshly cleaned floors. Revel in the satisfaction of knowing that you’ve achieved sparkling, spotless results using nothing but the power of white vinegar and water.
By following these detailed instructions, you can harness the cleaning power of white vinegar on the broom to achieve the cleanest floors imaginable. Say goodbye to dirt, grime, and harsh chemical cleaners, and hello to naturally clean and fresh-smelling floors that you can feel good about.
Moreover, white vinegar is not only effective but also incredibly affordable, making it a budget-friendly cleaning solution for households of all sizes. A single bottle of white vinegar can go a long way, providing countless cleaning sessions without breaking the bank. Its versatility extends beyond floor cleaning, making it a valuable addition to any cleaning arsenal for tackling everything from countertops to windows with ease.